Creating the right space to record vocals at home is necessary to produce the best sound. So how do you go about this and what type of equipment or room do you need?
Recording your own music at home can be a really gratifying and exciting experience. There have been many more artists choosing to make music from the comfort of their own home, but remember it takes time. Your equipment, use of effects and microphone placement all make an impact on the quality of your music. So let us share with you the ultimate equipment checklist, and allow us to show you how to record professional vocals at home.

Vocal Recording Checklist
Space
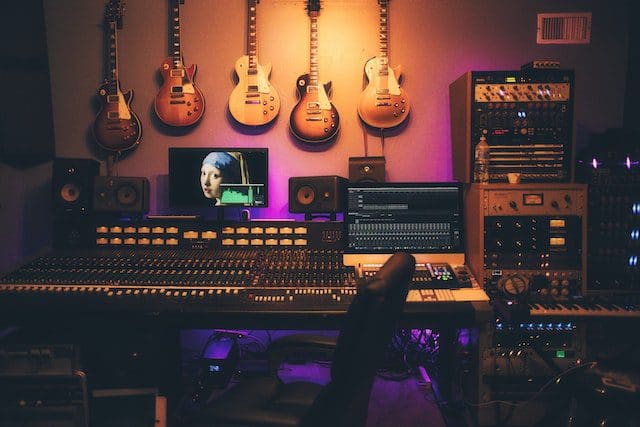
The space that you record in makes or breaks the track, so it is important to find somewhere where the acoustics are taken care of and it is quiet. You may already have a home studio setup, like a vocal booth, which is a great start. But ultimately try and find a room which will deaden the sound, and if possible use carpets when recording too.
Microphone
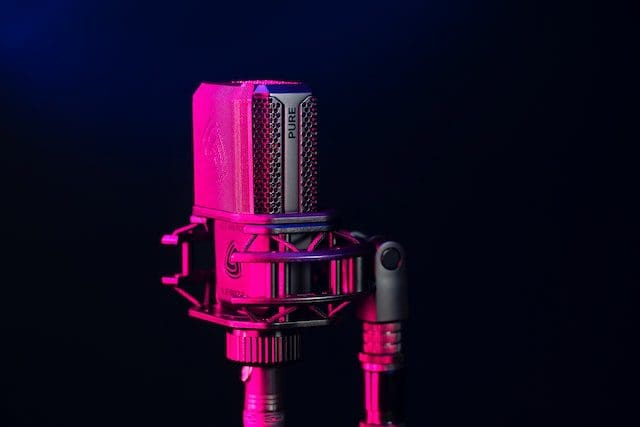
The type of microphone you use will impact the sound you make. Condenser microphones tend to be more expensive but you will find they are better in quality compared to the dynamic microphones, which tend to be more resistant to feedback. At the end of the day, it does depend on your budget.
Dynamic microphones are the simplest option and models like the Shure SM58 are ubiquitous at live shows. In the studio, many engineers favor the Shure SM7 which is much larger than the 58, with a more bass-focused soundstage. Condenser microphones are even more popular in the studio and options range from the very expensive Neuman U87 to the still pricey AKG C414 to the comparatively affordable Audio Technica 4033 or the Sennheiser MD421. And for a truly classic sound, many turn to ribbon mics like the expensive Royer 121 or the affordable Cascade FAT HEAD.
Remember to do a soundcheck to set the levels. The levels meters in your recording software should reach around -12 dB before you start recording.
Microphone Placement
This is essential when it comes to recording vocals at home. In terms of proximity effect, you have to ensure that the microphone is placed away from walls, to reduce reflections and echo, and make sure that it is in the center of the room for the best quality of sound. Additionally, the microphone should be 6 inches away from the mouth, and it should be pointing towards the center of the mouth. You can change the setting of the microphone for either intimate or open sounds by moving it closer or further away from the singer. Using something as simple as a pop filter can block out plosives on hard consonant sounds. You can always use a piece of material placed over the mic, which works just as well.
A windscreen is a fab piece of equipment that you can use and it won’t set you back too much financially. It is a piece of foam which is placed over a mic and can be bought at most music stores and online.
The best microphone for recording vocals at home does depend on your budget once again, but you could use a cardioid condenser microphone like the Rode RT1-A or an omnidirectional condenser microphone like the AKG C414.
Here is a list of the best mics for recording vocals at home! In terms of vocal mics, these are a very good start.
Shure SM58 – the best dynamic microphone for recording vocals
- $89
- Transducer type: Dynamic
- Frequency Response: 50 Hz to 15 kHz.
- Polar Pattern: Cardioid
- Output Impedance: 300 Ω
- Sensitivity: -56.0 dB
- Max SPL: 180 dB SPL
- Weight. 33 kg
Rode NT1-A – the best condenser microphone for beginners
- $228
- Transducer type: Large-diaphragm condenser (25mm)
- Frequency Response: 20Hz – 20kHz
- Polar Pattern: Cardioid
- Output Impedance: 100 Ω
- Sensitivity: -31.9 dB
- Max SPL: 137 dB SPL
- Weight. 32.6 kg
AKG C414 XLII – the best condenser microphone for recording vocals
- $990
- Transducer: Large-diaphragm condenser (25mm)
- Frequency Response: 20Hz – 20kHz
- Polar Pattern: Cardioid, Omnidirectional, Hypercardioid, Figure of Eight, super-cardioid
- Output Impedance: 200 Ω
- Sensitivity: -97 dB
- Max SPL: 140 dB SPL
- Weight. 300g
Vanguard V13 Valve Condenser
- $926.39
- Transducer: Large-diaphragm condenser (34mm)
- Frequency Response: 20Hz – 20kHz
- Polar Pattern: Cardioid, Omnidirectional, Hypercardioid, Figure of Eight, super-cardioid + 4 hybrids
- Output Impedance: 200 Ω
- Sensitivity: -35 dB
- Max SPL: 134 dB SPL (144 dB with pad)
- Weight. 480g
Sennheiser MD421 II
- $399.95
- Transducer: Dynamic
- Frequency Response: 30Hz – 17kHz
- Polar Pattern: Cardioid
- Output Impedance: 200 Ω
- Sensitivity: -74 dB
- Max SPL: approx. 160 dB
- Weight. 385g
It is also important to know that the ideal position for the microphone is about 6 inches below the chin. This position will give you the best balance of high and low frequencies.
Good Preamp
Using a preamp will add warmth to the tone of the recording and ultimately make it sound better. If you are looking for a bargain, then the ART ProMPA II will do the job, however if you are able to splurge, then I would advise looking into the Universal Audio SOLO/610.
Vocal Warm Ups Are Key
As every singer knows, vocal warmups will affect the vocal sound that you produce. You should now be able to perform with confidence and remember to have fun recording the track. The less anxious and more warmed up you are, the better quality sound you will be able to record. Have water to hand and ensure the temperature of the room isn’t too hot or too cold so your voice is comfortable.
Pace Yourself
Do not overdo it and maybe give yourself a limit of how many takes you record. This depends on how warmed up you are and how well you know the melody and lyrics. But you may have it all done by the third take. Feel free to experiment with mic placement, but if you think that there is no real need to record a whole new take but there is just one part of the track in which a mistake was made, you can “punch in” the section where there was an error.
Exporting Tracks
If you are recording multiple tracks, then make sure these are labeled correctly, as it will make it easier in the post-production process. Once you have finished recording and wish to export it, then this should be done as a WAV or AIFF file.
Leave Effects For After Recording
It is going to be easier to work a clean vocal sound and add in any effects after the recording rather than the other way round, so bear this in mind. You will of course want to use effects such as compressions, equalization, reverb, delay, chorus etc. but save this for later.

Legendary Songs That Were Recorded In Home Studios
- ‘Odelay’ by Beck
- ‘Nebraska’ by Bruce Springsteen
- ‘The Creek Drank the Cradle’ by Iron and Wine
- ‘White Ladder’ by David Gray
- ‘Exile on Main Street’ by The Rolling Stones
- ‘Of June’ by Owl City
- ‘For Emma, Forever Ago’ by Bon Iver
- ‘Meadowlands’ by The Wrens
- ‘Wasting Light’ by Foo Fighters
- ‘These Friends of Mine’ by Rosie Thomas
Double Tracking
This is the process of recording both vocals and instruments twice over but using slightly different settings. This brings richness and depth to a vocal sound and it thickens up a thin sounding vocal. It is used a lot in pop and rock, to create a larger sound. But it is all in the mixing of the two tracks, as it can be hard to combine them to make one smooth track. If done correctly it adds texture to the music, but it can be time consuming.
Equipment To Record Vocals
To create a basic recording set-up at home, you will need the following;
- Microphone(s)
- Mic stand(s)
- Pop filter(s)
- Shock mount(s)
- XLR cable(s)
- Interface/preamp
- Headphones or monitors
- Computer & DAW software
- Recording space treatment (acoustic panels, etc.)

Closing Thoughts
Now you are set up to record vocals at home and those of high quality! Just look at the success story of Adam Young, who recorded this album in the basement of his parent’s home. He uploaded the music to his Myspace page when he was done. Soon after, “Fireflies” became one of the biggest songs of 2009. This could be you! Happy recording!


