In this quick beginner’s guide, we are going to build from the ground up, starting with the very basics. You will learn basic music theory, how to build chords on the piano, how to play piano chords correctly, piano finger placement chords, and how to practice effectively. If you are learning to play the piano, or if you are a music producer looking to get familiar with a keyboard and building all piano chords, keep reading!

Having a solid foundation in the basics of music theory and chord construction means you will understand any piece of music you are learning to play, and you will become a more well-rounded musician overall. Similarly, for the producers out there, you will have more control over your music when building chord progressions with synthesizers and electric pianos.
Semitones And Whole Tones
Note: For this article, it will help if you have a piano keyboard in front of you (even if just on a screen).
A keyboard consists of 12 keys that represent the chromatic scale. There are 7 white keys: C D E F G A B and C, and then the sequence of notes starts all over again! There are also 5 black keys scattered in between the white keys (which are called sharps and flats). These are slightly higher or lower in pitch compared to their white key counterparts.
The step from one note to the other is referred to as a semitone. For example, C (white key) to C sharp (black key) is a semitone, C sharp (black key) to D (white key) is a semitone, and so on. If you go from your C white key, skip a semitone and land on the next white key (D) – you have jumped two semitones, and we call this a whole tone. For example, D to E is a whole tone, F sharp to G sharp is a whole tone, and so on.
If you skip two semitones to get to the next note, it is always referred to as a whole tone. Semitones and whole tones are also called half steps and whole steps. It is important to think of the keyboard and its notes in terms of semitones and whole tones because they are the building blocks of Western music. Semitones and whole tones are arranged in a variety of different patterns to make up scales and chords.
Note: From now on, when referencing the piano keyboard, we will be using the key of C. Your root note (starting note) will always be a C.
Intervals

Now, the space or the number of semitones between any two notes on a keyboard is called an interval.
This can be any two notes on the keyboard. For example, C to G is an interval, C to D# is an interval, F to F is an interval and so on… even C to C# (a semitone) is an interval! Because we have 12 notes in the chromatic scale, we have 12 different intervals.
The 12 intervals are called:
- Half Step (also known as minor second)
- Whole Step (also known as major second)
- Minor Third (also known as Flat 3 or Blue Note)
- Major Third (also known as the third)
- Perfect Fourth
- Augmented Fourth (also known as diminished fifth or tritone)
- Perfect Fifth (also known as the fifth)
- Augmented Fifth (also known as the minor sixth)
- Major Sixth
- Minor Seventh (also known as augmented sixth)
- Major Seventh
- Octave
Don’t worry, you don’t have to memorise them all!
The important ones to keep in mind are the Minor Third, Major Third and the Perfect Fifth. You will find out why in a second!
The number of semitones between the two notes played determines the type of interval. When musicians talk about chords, scales, melody, harmony, or anything musical, they talk in terms of intervals. So, from now on, start thinking in terms of intervals.
By the end of this article, you will understand why thinking in terms of intervals makes so much sense.
What Are Piano Chords & How Do You Build Them?

Finally, we are going to start looking at how chords are constructed on the piano.
A piano chord is 3 or more notes played on the piano at once. The most common type of chord is only made up of 3 notes, and these types of chords make up most of the music you hear. Every chord is made up of a root note, a major third, and a perfect fifth.
If your root note is C, for example, the next note in your chord will be E (the major third), and the last will be G (the perfect fifth). Try it out on a keyboard. Starting with your root note C, count 3 whole tones to E (the major third interval). Starting again from C, and count 5 whole tones (a perfect fifth interval).
To build a chord in any key, use the same formula: Root, Major Third & Perfect Fifth. If, for example, you want to play an F piano chord, just use the formula; root, major third, and perfect fifth. The chord would then consist of an F (Root Note), an A (Major Third), and a C (perfect fifth).
Major & Minor Piano Chords

By now, you have most likely heard of major and minor chords. They are pretty basic, and you usually learn about them at school in music class. You maybe didn’t learn how they are built, though.
There is one difference between a major and minor chord, and it is a semitone. In the previous section when we covered how to build a piano chord, we learned how to build a major chord. The formula to build a major chord is the root, a major third, and a perfect fifth.
To build a minor chord, we use the same formula, except we change the major third interval to a minor third interval. In other words, move the second note in a major chord (the major third) down a semitone, which creates a minor third interval. Therefore, the formula for a minor chord is the root, minor third & perfect fifth.
Try it out on your keyboard. Starting with C, count 3 whole tones to E (as we know E is a major third). To turn your major third into a minor third, all we do is move down a semitone to E flat. To complete the chord, add the perfect fifth by counting 5 whole tones from your root note.
Finger Placement: How To Play Piano Chords

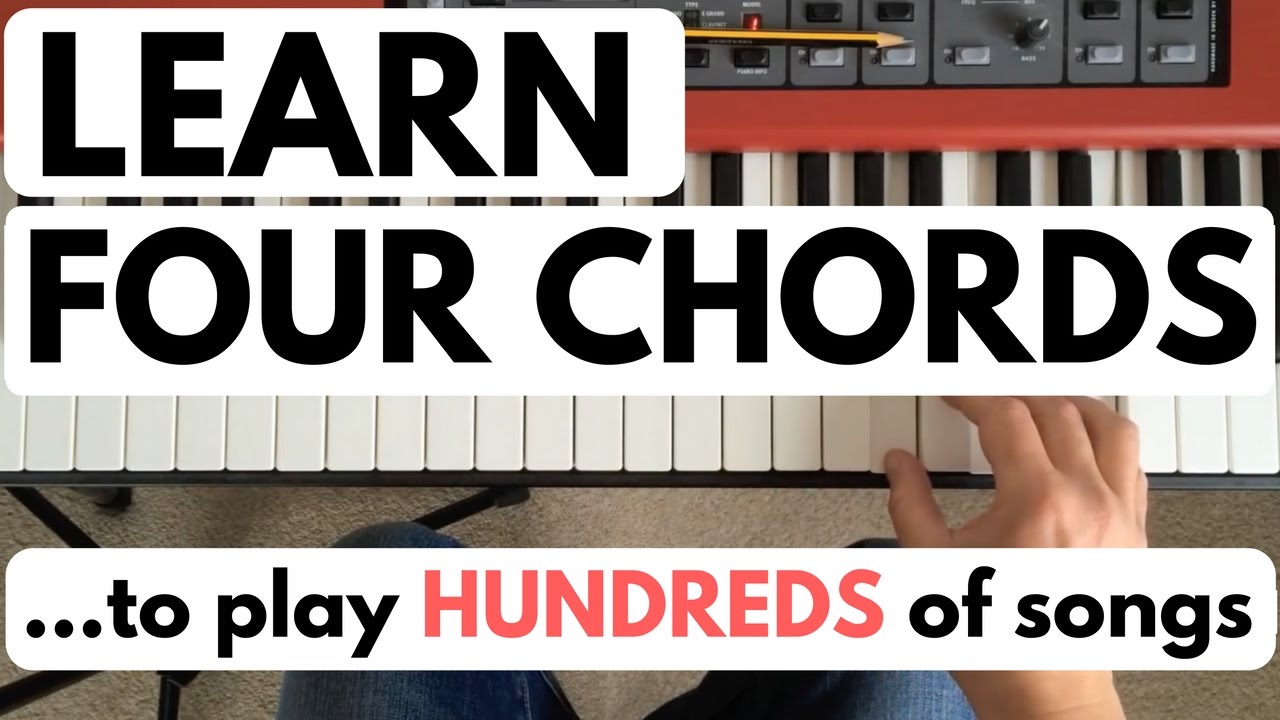
When learning to play chords, make sure you are using the proper piano chord fingering technique and placement. In other words, make sure that you are placing your fingers on the correct keys. With your right hand, you use your thumb, middle finger, and little finger. Place your thumb on the root note, your middle finger on the major or minor third, and your little finger on the perfect fifth. Let’s make sure your piano finger placements on the chords are correct.
Try it out on your keyboard. Play a C major or C minor chord; thumb on C (the root note), middle finger on E/E flat (major/minor third), and little finger on the perfect fifth.
We use this fingering piano chords placement for 3 reasons:
1. It is comfortable to hold a chord this way
2. It is the most dynamic method and will allow you to make smooth chord transitions
3. You still can play notes with your index and ring finger, once you start playing more complicated chords.
In truth, you don’t have to play chords this way, you can use any fingers you like or whatever feels comfortable, but any other way is usually considered incorrect and may make it more difficult as you progress down the line. For more reading on techniques like this, check out our article on arpeggios.
Left Hand & Right Hand
So, what about the left hand? What does the left hand do, exactly?
The left hand is used to accompany whatever the right hand is playing. If the right hand is playing a melody, for example, the left hand could play chords, bass notes, and or bass lines. A simple, fun exercise for beginners in learning piano finger placement is to play bass notes in your left hand while you play chords in your right. If we are playing in C, play your C chord with your right hand, and in your left hand, play another C an octave or two below the chord at the same time. It is simple to do and it sounds great!
It takes a while to get comfortable with the placement on the piano when moving your hands and fingers independently across the keyboard in this way, but you will soon get used to it and the chords.
Advanced Chords
You can think about learning advanced chords after you are comfortable with the basic chords. The truth is, ‘advanced’ chords aren’t advanced, they are just variations and extensions of the basic major and minor chords you learn. Learning these chords is a natural progression in your music education.
Advanced chords can bring more ‘colors’ and ‘shades’ to your music. Some ‘advanced’ chords you will come across include extended chords like the seventh and ninth chords. These are major or minor chords with either the 7th note added to the basic chord, or the 9th note added. The ninth note is just the note in the next octave. Advanced music theory concepts can explain why we call this the ninth note. It goes beyond the scope of this article, though.
By the way, there are 11ths and 13ths too! Other types of advanced chords are the suspended chords, like the augmented fifth, suspended fourth, or suspended second.
Before you tackle these extended and suspended chords, just focus on the basics – playing major and minor chords. Also, check out our article on Jazz chord progressions if you want to spice things up a little and experiment with different genres!
BM Piano Chord
A BM piano chord is a major chord composed of the notes B, D, and F#. It is a powerful and versatile chord that can be used in a variety of musical styles and genres. You can also search on google “bb piano chord” to see another form of chords.
Practice Tips

So, you have got what you need to start practicing. You know how to build major and minor chords in every key, and you know how to play them with correct finger placement.
The next thing to do is to implement a practice routine. You can structure your practice routine however you like but there are a few tips and practice techniques you should always include to get the most out of your practice sessions.
Use Piano Chords Chart
If you google “piano chords” or “piano chord chart”, you will find hundreds of pictures of chords. Print out a few, or save some as a PDF. When you are starting, these are always great to use as references.
Listen To Piano Players
This is probably the best thing you could do to improve your playing. If you listen to piano players, you will start instinctively picking up on things, and even playing like them or in their style.
As you start listening to piano music (jazz trios, pop ballads, or whatever you like), you begin to internalize all of the sonic and musical nuances of piano playing. This influences your playing, and you can eventually start playing like the pros. When you learn saxophone, you are told to listen to other sax players. When you learn drums, you are told to listen to different drummers – the same goes for any instrument. By listening to other piano players and different styles of piano music, you will develop your musicality.
Finger & Hand Coordination
For a beginner, this is quite difficult, but this is also something you will master quite early on in your piano-playing journey. A good way to practice your finger and hand coordination is to play the bass notes in your left hand and chords in your right at the same time. This will help you develop fluidity as you move across the keyboard.
Moving On From Here
Once you are comfortable building chords, playing chords, and coordinating both hands across the keyboard, the next thing to do is to learn chord inversions.
Chord inversions will make your piano playing sound amazing. Chord inversions are what professional piano players use all the time. You can get creative when you know the inversions and you can make your playing unique to you.
Next, start learning a couple of scales in all different keys. From here, practice building finger independence and speed by running up and down scales, across multiple octaves with both hands.
Conclusion On Piano Chords
Starting on the piano or keyboard is quite simple, and taking time to practice and experiment with all piano chords will make them easier to understand. By consistently applying the basic theory we have laid out above, you will be moving on to more advanced skills in no time! If you want to take a different approach to learning all piano chords, take a look at our article about Yousician and their online teaching!

