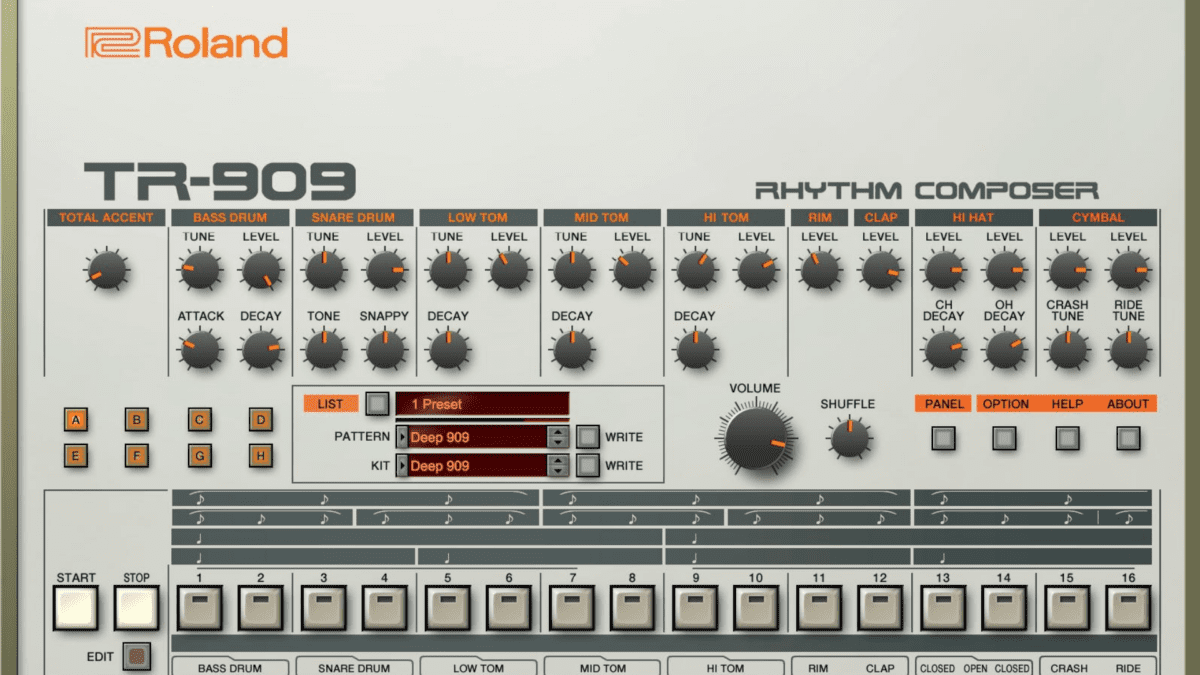
Before we begin to discuss how to get creative with distortion music, let’s first cover the question “what does distortion mean in music?” Distortion is something that can be thought of as negative or ‘bad sounding’ when it is unwanted.
However, distortion can also be a tool that can be used creatively – whether to evoke an emotion, heighten the intensity in a song or create a sense of atmosphere. It is a really good technique to utilise when producing music (including using distortion pedals), so let’s take a look at the best ways to play with it!
What Is Distortion Music?
Distortion can be defined as anything that modifies the original sound (signal) or waveform. While this may be true, it is very broad in terms of what we think of when we want to add distortion to a sound or track.
Types Of Distortion Music
I like to place distortion into two different categories. The first is the kind of distortion that happens when you push a signal too hard (like turning the gain up too much). I put this into the “bad” or “unwanted” distortion (as it is not intentional and doesn’t sound great!) The second type of distortion is one that is used to creatively shape a sound. Let’s take a look at each.
Unwanted Distortion
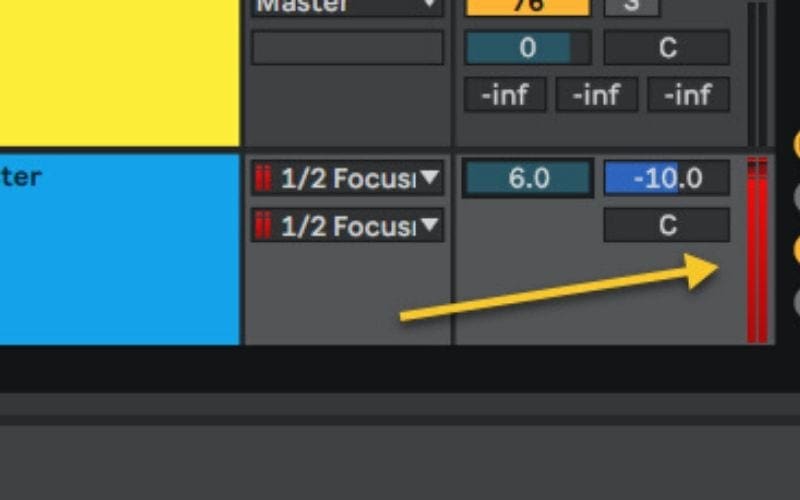
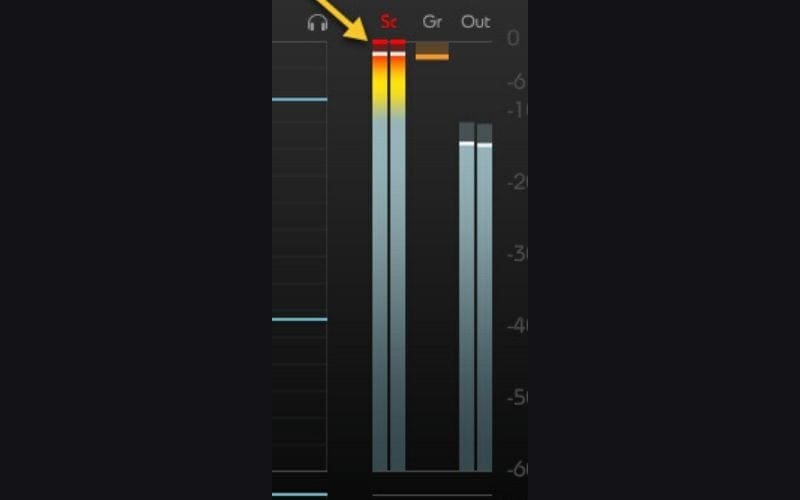
An example of unwanted distortion is where you turn the volume of the radio (via earbuds, headphones, studio monitors, amps, etc.) up so much that it becomes garbled, fuzzy, gritty or muddy and hard to hear the individual parts of the song. When the audio levels of a plugin or the DAW itself move into the red zone, there can often be distortion or clipping. This is the kind of distortion we really don’t want, as it negatively impacts a song.
Creative Distortion
Distortion music can be used creatively to shape a sound, for example guitar distortion in Rock Music. I don’t think this genre would exist without distortion! The sound of guitars coming through amps and pushed creatively to distort is what gives them grit and presence. This is one of the best reasons to use distortion – when we have a sound or instrument that is lost in the mix. Increasing the gain isn’t always the best solution, however, because that increases the overall level of the song, which is something we may not want. By adding distortion, we can bring out a sound or certain qualities of a sound without necessarily increasing its loudness or gain. It is this area of intentional or creative distortion that we are going to focus on.
Uses Of Creative Distortion
Distortion can be used creatively to:
1. Add grit and texture to a sound (bass for example)
2. Brighten a sound (synth or guitar for example) to help it stand out
3. Add weight to an instrument like drums
4. Fatten a sound like a bass guitar
5. Bring life to dull sounds, adding brightness to the top, for example
6. Create a Lo-Fi sound
7. Add character to a vocal
Sources Of Distortion
Distortion can happen at any stage of the music creation process – from recording and production to mixing and mastering. There are two sources of distortion: Digital and Analog. Both types happen when the level of either a Digital or Analog signal go above 0 dBFS (decibels full scale). Zero dB represents the maximum level of the capacity of a signal. We can also think of this as 100% on a radio dial. We can turn a dial all the way up on a radio, which is 100%, but we can’t turn it past that. In audio, we CAN push a signal above the 0 dB mark… but it is at this point we start to lose parts of the signal. This is known as Clipping in distortion music.
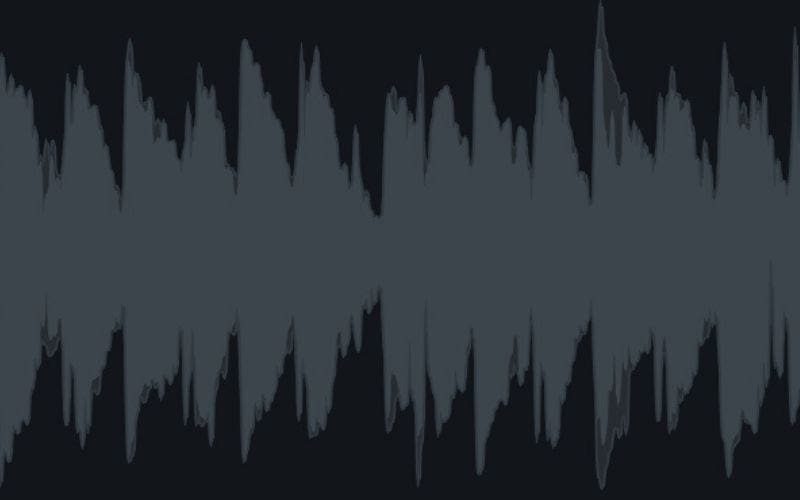
The first image below shows a normal audio signal with its peaks and valleys. The second image shows a signal that is clipped. The arrows indicate the flat tops or plateaus to the audio signal. These represent the clipped region. The audio signal in this region has lost some data and is chopped off. This is because the audio signal was pushed above the distortion threshold – there simply is no more room for the sound, so it is squashed.
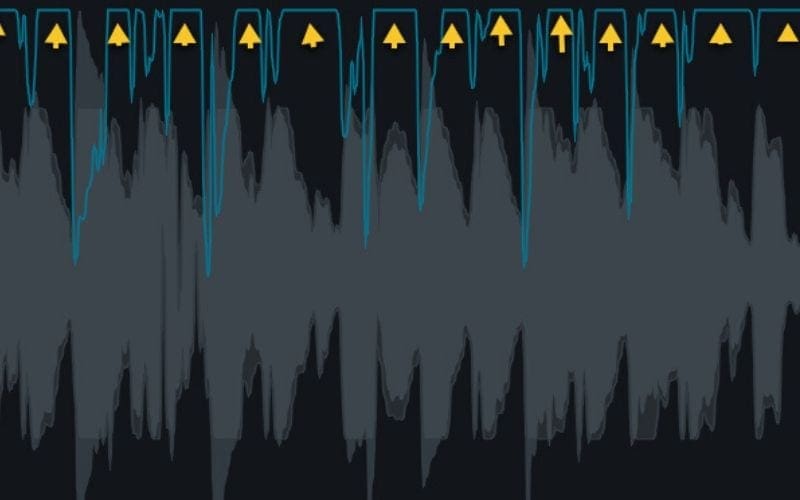
Clipping generates non-musical harmonics that colour the sound. This additional harmonic content increases the perceived loudness, and may not increase the peak level on a meter in a DAW. However, on playback, it may make the sound seem louder. It is here that we can use clipping in a creative way. Before we jump into the creative uses of clipping, let’s look at what harmonics are.
Distortion Music – Harmonics
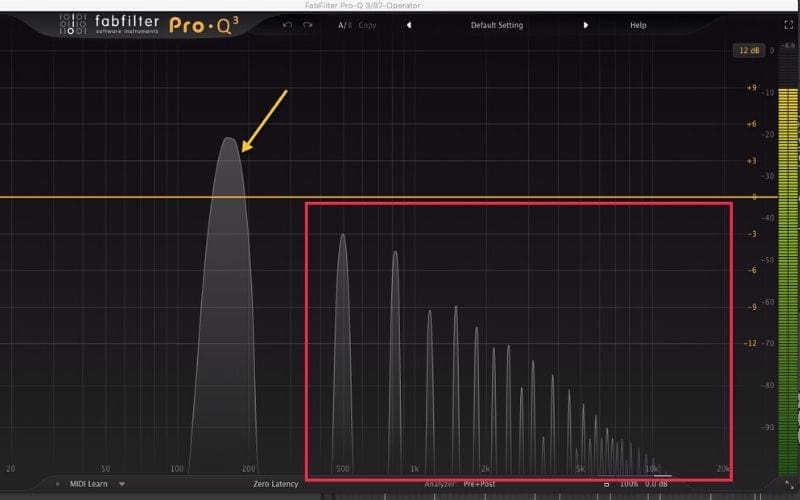
A Harmonic is one in a series of ascending tones that are added above the fundamental frequency (original tone). In the example below, I have used a Sine Wave. It has one tone, and there are no additional tones above the one visible. The original tone is known as the fundamental frequency because this is the original tone or sound.
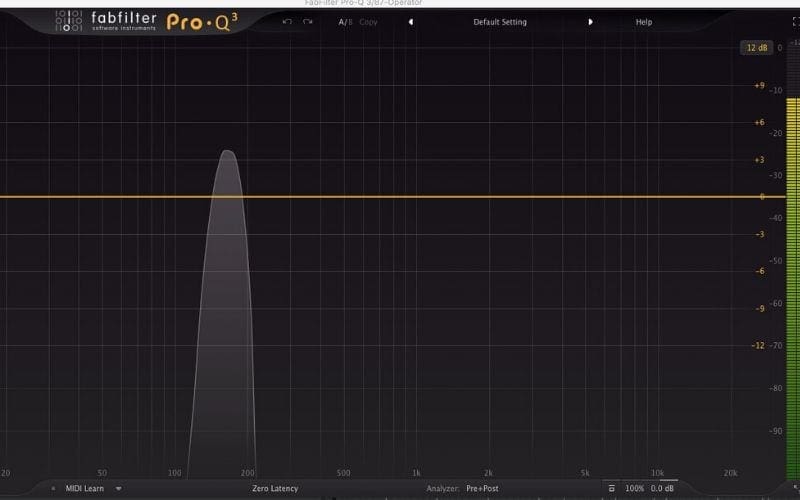
A harmonic is a regular and repeating sound of the original waveform. It is regular and repeating in an orderly mathematical manner. These additional sound elements are the harmonics that enrich (distort) the original sound or waveform. The image below shows the Fundamental Sine Wave (yellow arrow) with the harmonics added to it (red box) by using a type of distortion known as Saturation.
Saturation
Tape Saturation
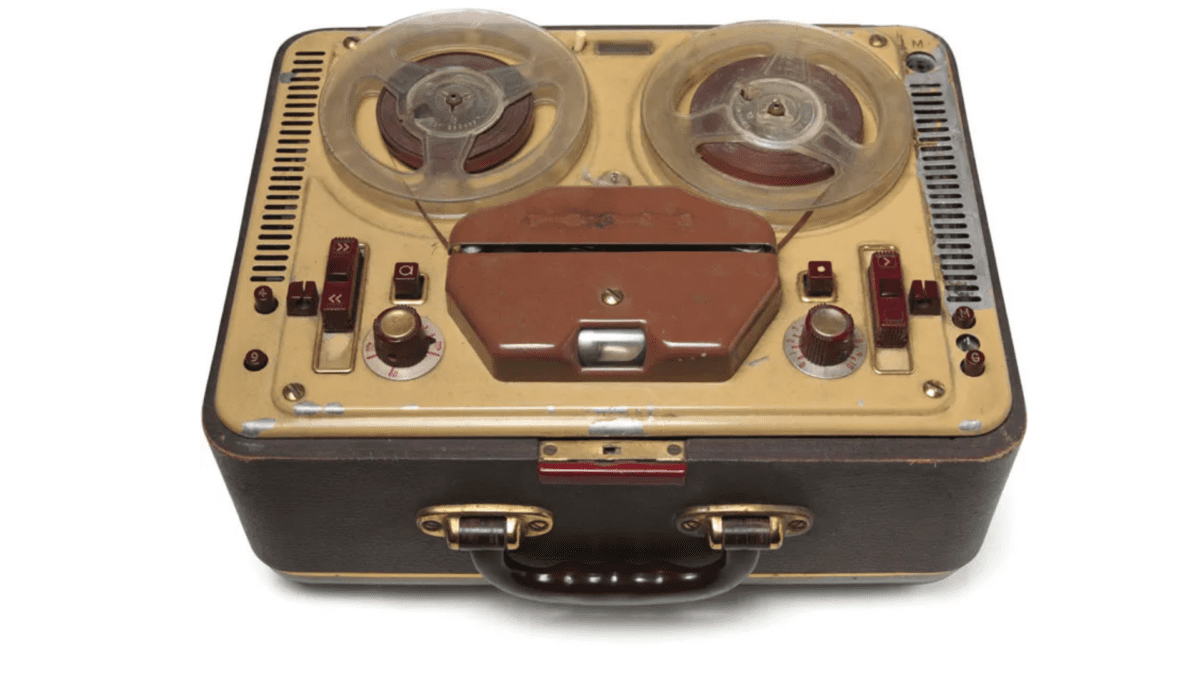
When a magnetic tape is overloaded with an audio signal, it distorts. But this type of distortion is pleasant. When we overload a tape signal, we create a rich distortion full of harmonics that are pleasant to the ear. This type of distortion is called Saturation. Tape machines were the original source of this type of saturation. Today, we also have plugins that provide tape saturation such as the Softube Tape.
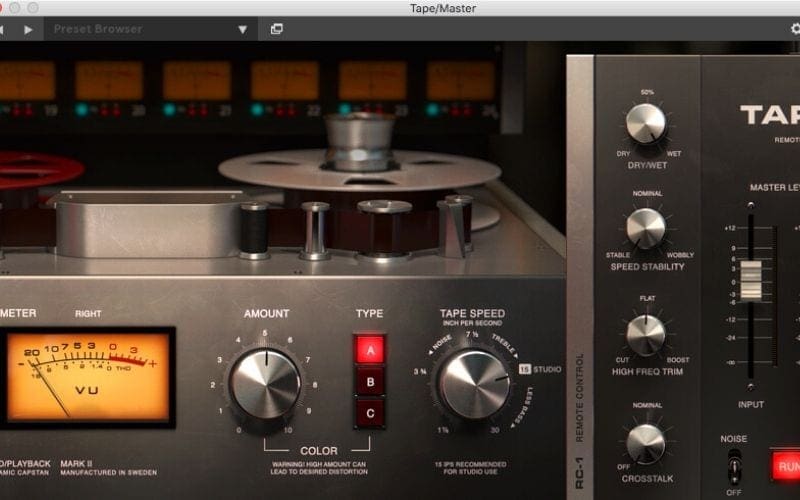
Tape saturation can be used on almost any type of sound. In a mixing scenario, I put tape saturation (dialled in very lightly) on every track. It adds a nice warmth and richness to a sound, taking away the digital feel. It can also warm up the mid and high frequencies of a sound, whilst adding clarity or filling out empty space within a sound, making it seem more full.
Distortion Music – Clip Distortion Or ‘Clipping’
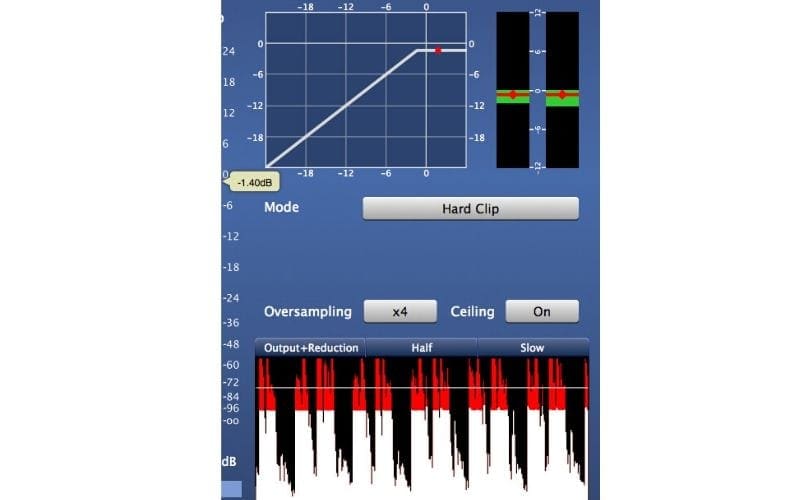
Clipping can be used creatively to increase the loudness of a track or entire song (much like a limiter), or to add odd harmonics to the signal. A clipping plugin can be used like a brick wall limiter or for something more subtle, adding smoothness and saturation. If you remember the example earlier in this post, when the signal passes 0db, part of it is removed. The brick wall type of clipping chops off the top of the signal. In the image below, everything in the red zone is being chopped at the straight red line.
Digital Distortion
Distortion can fill out or warm up a high-quality sound, but on a low quality one, it can make it sound worse. Much of digital distortion is harsh, nasty, and unusable, but digital distortion can also be used creatively and may have a place in your music.
Bit Crushing
One of the more interesting and creative uses of digital distortion, let’s take a look at Bit Crushing! This is achieved by reducing the bit-depth or sample rate of a digital signal to achieve that “lo-fi” sound. It involves removing bits of the sound to lessen the quality. If you push it too far, it can sound quite unpleasant, and so a little goes a long way.
Amping
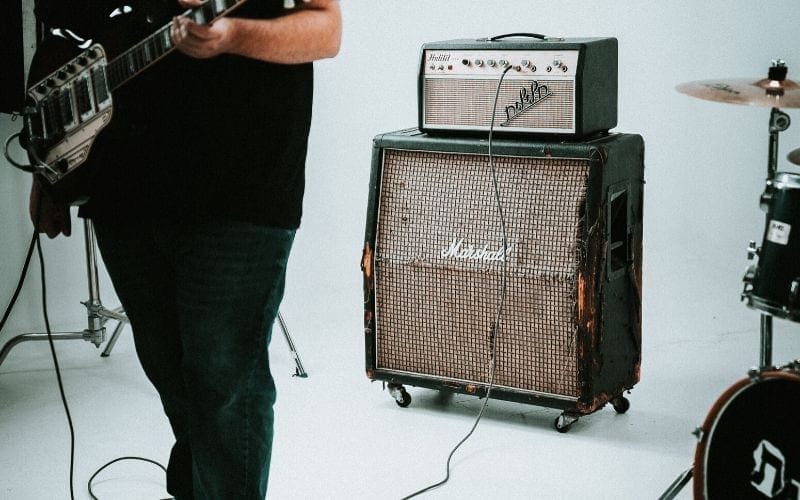
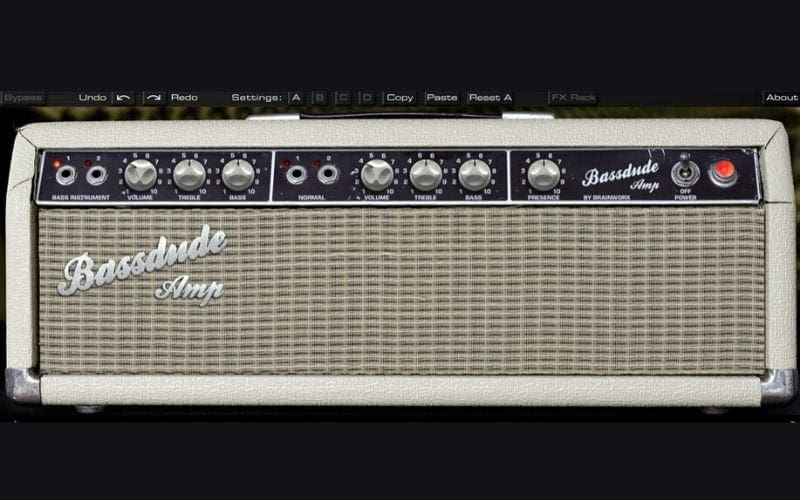
Amps are pieces of gear that guitar players use every time they play. Electric Guitars and Electric Bass guitars need some form of amplification to be heard. The Amplifier or Amp takes the signal from the guitar and magnifies it, meaning that it makes it louder (there is more to the process but for the sake of this article we will keep it simple).
Guitarists discovered that by turning up the volume, or playing with other knobs on the Amp like the treble and bass, they could get a distorted, gritty sound. That same idea has been brought into the digital world with Amp Plugins (sometimes also known as Amp Simulators or Amp Sims). We can apply an Amp plugin to recordings of guitars and basses and re-create the sound of a real amp.
Amps have an even bigger application in the digital world than just guitars and basses. We can add an Amp plugin to anything – from a kick drum or synth to a vocal or sound effect. This gives it a different character, and adds weight to a thin sound.
Saturation and Distortion Plugins in Distortion Music
There are quite a few excellent distortion and saturation plugins that I use regularly. Here are a few (in no particular order):
1. iZotope Trash 2
2. Devious Machines Texture 3. Sound Toys Decapitator
4. Sound Toys Devil Loc Deluxe
5. SoundSpot’s Ravage
6. Fab Filter Saturn 2
7. Native Instruments Guitar Rig
8. Black Box Analog Design HG2
9. Softube Tape
There are very few of my productions or mixes that most of the above are not used in. They each have their special character and features. I did also want to highlight a few that have some unique and fun features. While many do much more than just saturation or distortion, I am only focusing on those elements today.:
iZotope Trash 2
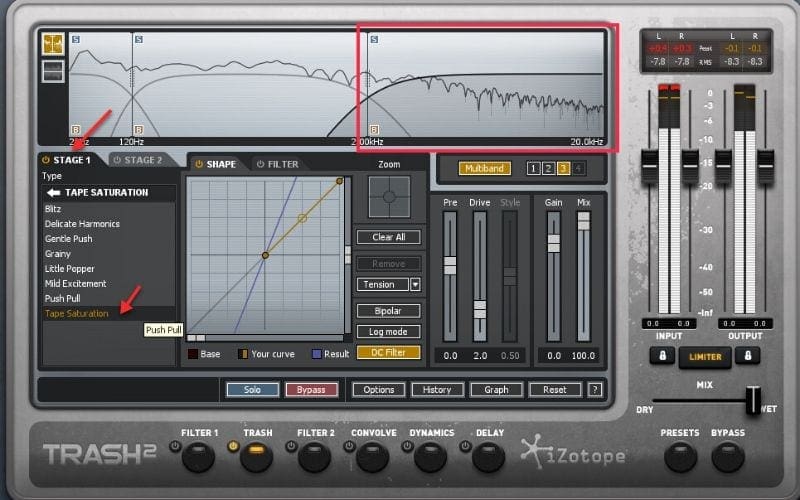
I could devote an entire post to this one plugin! What I like about Trash 2 is that it not only can do distortion and saturation but does so in multi-band mode. Multi-band mode is useful when shaping a sound. For example, on a kick, I may not want to apply distortion to the low end, as it may make it sound muddy and lack definition. But I may want to bring out the knock or the click so that I can hear it more clearly in the track. By using Trash 2 in multi-band mode, I can apply the distortion or saturation (or both) to only the band where the click is located.
In the example below, I have selected band 3 where the click of the kick is located (red box). The red arrow indicates that I have selected Stage 1, and the second red arrow indicates that I have applied Tape Saturation to band 3.
In the next image (below), I am applying distortion. The red box indicates that I am still using Band 3, and the first arrow shows that I have selected Stage 2, with the second arrow indicating that I have selected “Amp Drainer” as my distortion.
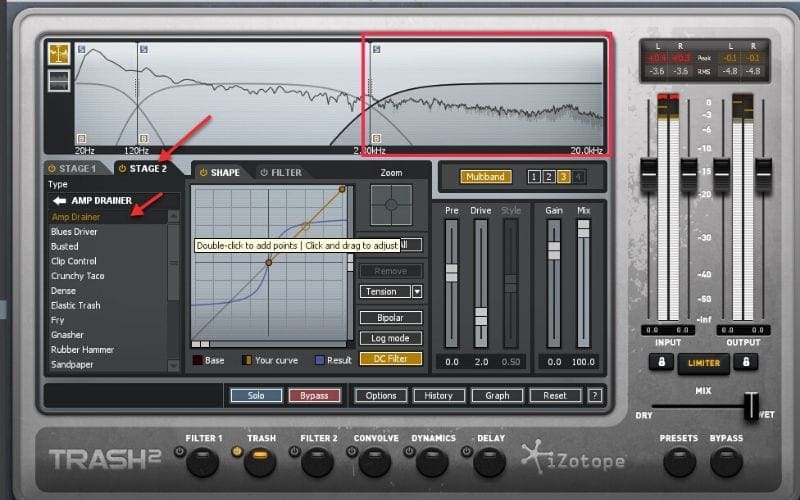
Because I have only selected Band 3 for applying saturation and distortion, Bands 1 and 2 have not been affected and their sound remains the same.
Soundspot Ravage
This gem is not known by many (yet), but Soundspot’s Ravage has quickly become one of my favorite plugins to use. It is a creative distortion and saturation unit that takes tracks to the next level. First, it contains six different distortion algorithms:
1. Tube
2. Digital
3. Diode
4. Linear Fold
5. Zero SQ 6. Rectify
Each of these has its own personality. The best way to find the one that suits the sound is to try each of them! Take a look at the image below of the first “page” of Ravage. The red arrow indicates the various distortion types we can apply to a sound.
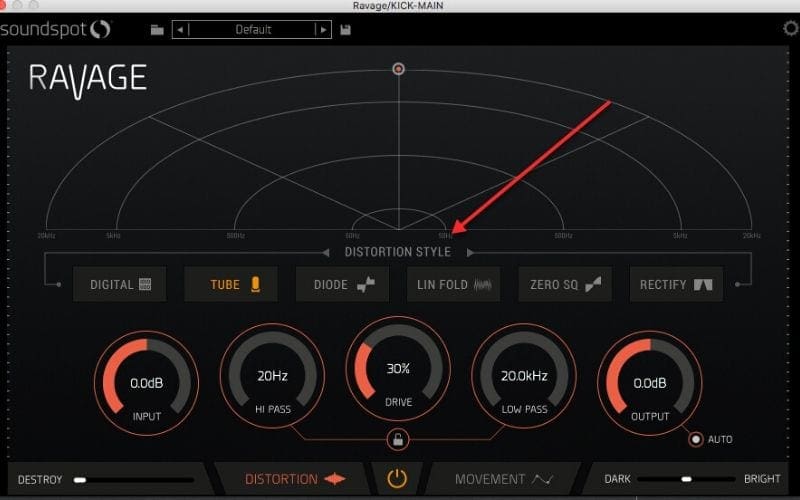
In the middle section, we can adjust the Input and Output levels of the signal so that we are not adding additional gain. The High Pass and Low Pass filters work in a similar way to the Trash 2 Multi-band option. We can set the High and Low Pass filters together so that we apply distortion to a particular area of the signal. While Trash 2 allows us to set 2 types of saturation or distortion per band, in Ravage, we can only define one. The workaround for distortion music is to add multiple instances of Ravage to apply different types of distortion to different frequency ranges of the sound.
The Drive knob allows us to push more of the signal into the distortion unit to crush the sound more. At the very bottom, we can adjust the amount of signal distortion we want (DESTROY), and select how dark or bright we want the distortion to be (DARK TO BRIGHT). It is the second page where things get interesting and, to me, what makes this plugin stand out from the rest. This is the MOVEMENT page.
Movement Page
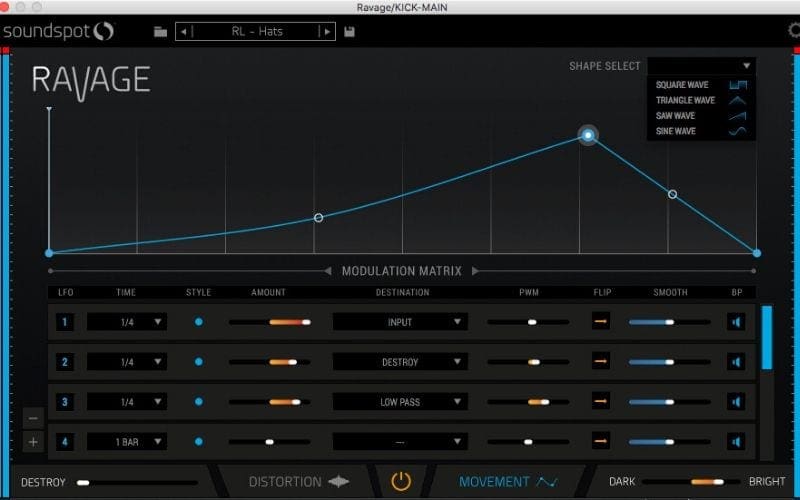
The MOVEMENT page is where we can animate the distortion! By using an LFO, we can apply movement to one of eight destinations:
1. Input
2. Output
3. Drive
4. Pan
5. High Pass 6. Low Pass 7. Destroy
8. Dark/Bright
This creates flexibility, making the sound more interesting over time. In the image below, we can see that for each LFO, we can adjust a variety of parameters from Time and Amount to Strength and Smoothness. Another interesting feature is the ability to reverse the movement! Notice the waveform in the window at the top. We can draw our own waveform and shape the movement to our taste!
Devious Machines Texture
I discovered this plugin when I was looking for Transient Shapers/Designers. As mentioned before, Distortion is anything that modifies the original signal or waveform. While this doesn’t look like one of the traditional distortion music units, it modifies the original signal, and we use it for the same reason: to enhance (or suppress) a sound or signal. Texture is part FX plugin and part Synthesiser. It blends in or layers another “sound” with the original signal!
Texture Machines Example
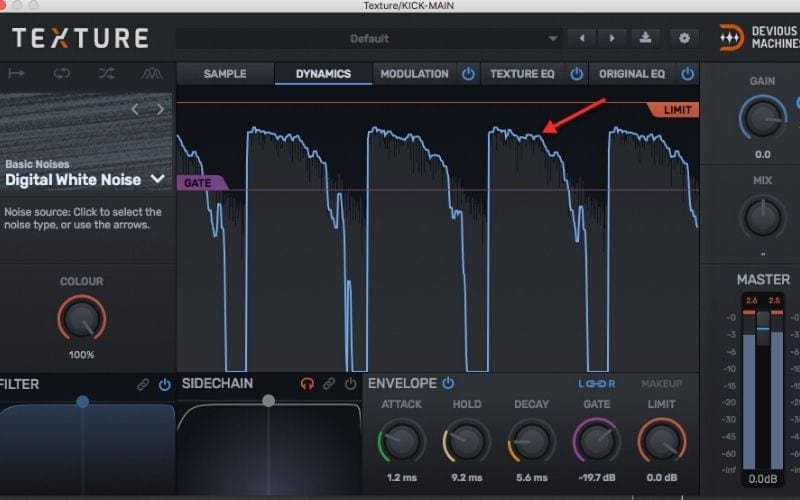
In the image below, we see an audio signal with a blue line following it on top. This is the added “noise” on top of the signal. There are a lot of noise sources built into Texture, and Devious Machine has categorised them so that we can quickly find a noise to suit. We can also add our own waveform! Textures are very powerful with tons of features, and I will highlight a few for the ideal distortion music.
On the Dynamics Tab, we can filter the signal so that the noise is only applied to a specific frequency range. We can change the Gate so that the noise can cut off quickly or even extend beyond the ending of the original sound for creative effect. There is an Envelope section for dialling in the noise to taste, and we can adjust how much of the noise we want to hear in the blended signal.
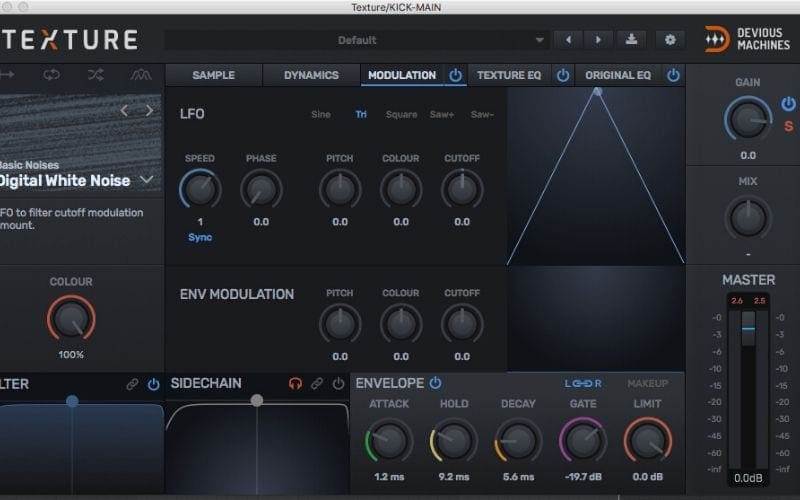
The image below is the Modulation Tab. Here, we add movement to the noise being added. There are quite a few parameters including an LFO and Envelope section.
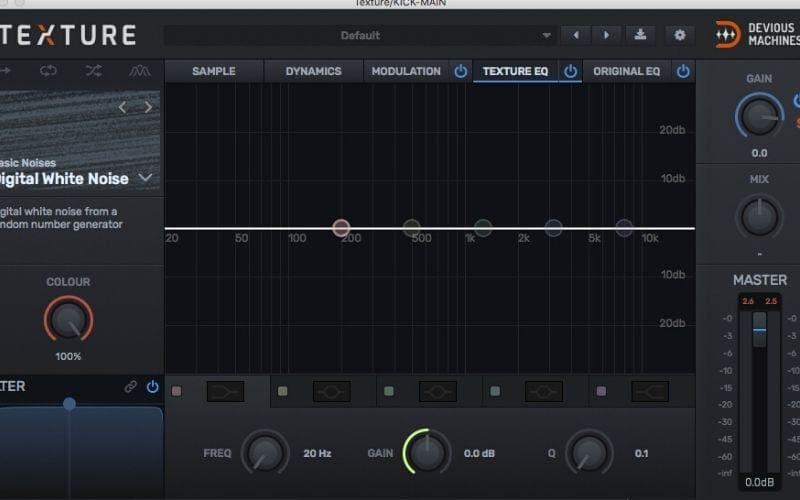
In the next tab, the Texture EQ Tab is where we can cut or boost the noise being applied to the original signal (see image below).
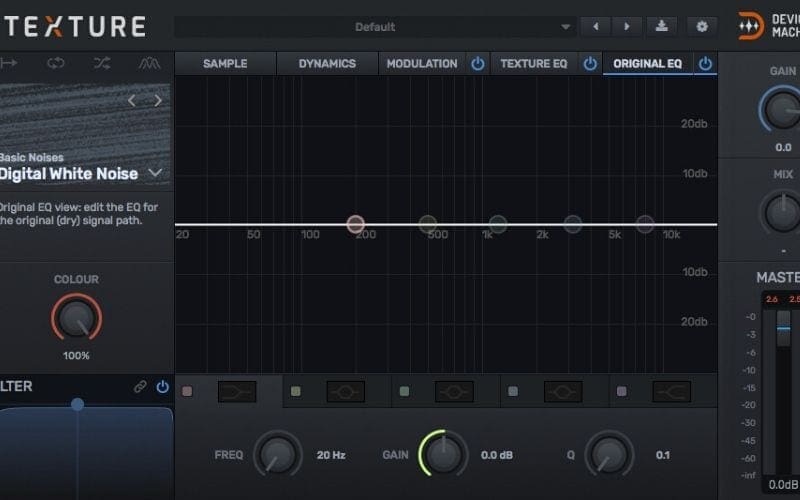
The final tab is the Original EQ. This is where, if needed, we can alter the original sound.
Closing Thoughts on Distortion Music
Distortion in music, when used creatively, has become an essential part of music production and mixing. It is something that I use to tame or boost a sound before I reach for a compressor, and plays a huge role in atmospheric or lo-fi music. I encourage you to start exploring the creative uses of distortion – just play around, try some plug ins, and have fun!
Now you have learned all about distortion music and how to get creative with it, you will hopefully be utilising your new skills in your own music! Allow us to help you amplify your music, collaborate with others, and even get your music in TV, film and more. Why not try Music Gateway for free?


